On this page
Product specifications
Measurements
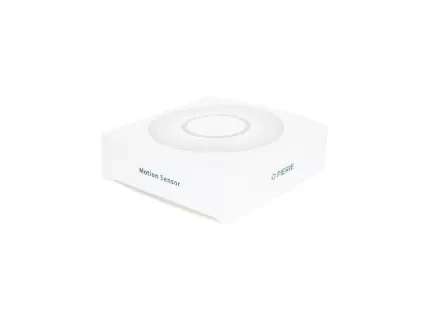
Measurements (box)
Specifications
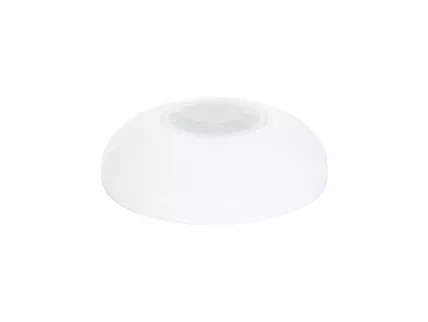
The PIERRE Pro Motion Sensor 360 (Ceiling Mount) utilizes advanced dual-technology motion detection, combining passive infrared (PIR) and microwave sensors. The PIR component accurately detects body heat variations, while the microwave technology complements it by providing extended coverage and stability, minimizing false triggers from environmental changes.
The sensor operates on a 9-24V DC input and is designed for ceiling installations at adjustable heights between 2m and 6m. It offers a full 360-degree detection angle, effectively covering areas with a detection range of up to 8m, making it suitable for large-scale applications.
Print user manual for Motion Sensor 360 (Ceiling Mount)
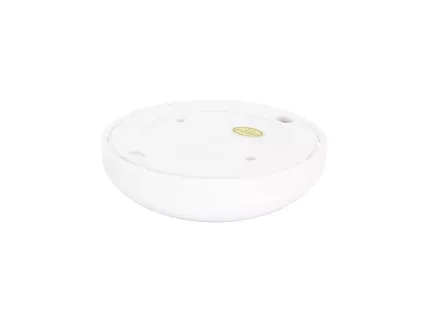
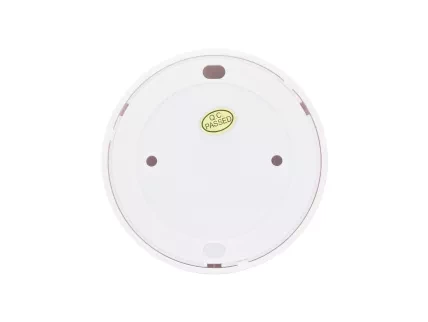
Φ 80.0
- H1: 22.50 mm
- H2: 26 mm
- 63 mm
- 44 mm
- 7.70 mm
Φ1: 4.00
Φ2: 5.00
Power supply mode
DC 5-24V
Max Load
36 V, 50mA
Frequency
5.8GHz ±75 MHz, ISM band
Product color
White
Installation Height
3.00m
Operation range
8m
Operating Temperature °C
-10°C - +50°C
Operating Temperature °F
+14°F - +122°F
Operating Humidity % RH
5% - 95% RH
Detection radius
8m
Detection angle
360°
Detection Technology
PIR + Microwave
Delay time
1 to 60s (adjustable)
IP rating
IP20
Safety features
Over Voltage, Short Circuit, Thermal Protection, Tamper Protection, Anti-Flammable Housing, Static Protection, Surge Protection
- 360°
- 2.5 - 3 m high
- 6 - 8 meters in diameter
- Connect the Line (L) wire to terminal L on the sensor.
- Connect the Neutral (N) wire directly to terminal N on the sensor.
- Connect the Load (device) wire to the sensor's output terminal.
- Choose Controller
- Tap on the Controller that you would like to add new I/O to.
- To edit the I/O, click on the Controller to which the I/O is added.
- Add button for Inputs
- Inputs tab is selected.
- List of Inputs is shown.
- In order to add new Input tap on the Add button.
- Choose type - Inputs
- Scroll to the I/O from the list that you would like to add and tap on it.
- New Motion sensor
- Fill following form:
- Name - Write the name of the Motion sensor.
- Role - Choose Role from the list.
- Group - Choose Group from the list. Group is a group of I/O and scenarios that seems most logical to you.
- Pin - Choose Pin from the list. Pin is physical place on the Controller where I/O is connected to it.
- Photo - Choose photo for the Motion sensor.
- Identifier - This field is the identifier of the I/O in the electrical project.
- Advanced - You can choose type of the signal that activates or triggers the Motion sensor: rising, falling, change, change inverted.
- Timeout - It the duration for which the Motion sensor will remain active in auto mode.
- Fill following form:
When you want to confirm your choice tap button Save and Submit.
- Select Roles - Inputs
- Tap in the field Roles.
- Select checkbox/checkboxes (for multiple choice) next to the Role/Roles that you would like to choose.
- To confirm selection tap the button Save/Done.
- Select Groups - Inputs
- In this step you should select Group.
- Select check box/check boxes next to the desired Group/Groups from the list.
- When you want to confirm your choice tap button Done/Save.
- Change photo
- Tap on the photo of the Motion sensor.
- You have tree options:
- Open Library - The phone’s Library will open.
- Open Camera - You can take a picture using your smartphone.
- Choose default image - These images are prepared in advance in order to provide a complete and seamless experience.
- Timeout
- In order to set Timeout - hours, minutes and seconds, you should scroll through each of these columns and when you are satisfied with your choice tap on Save button.
- Advanced Configuration
- Select radio button next to the Signal that you would like to choose:
- Rising
- Failing
- Change
- Change inverted
- It is a type of signal that activates or triggers the Motion sensor.
- Select radio button next to the Signal that you would like to choose:
