On this page
Product specifications
Measurements
Measurements (box)
Specifications
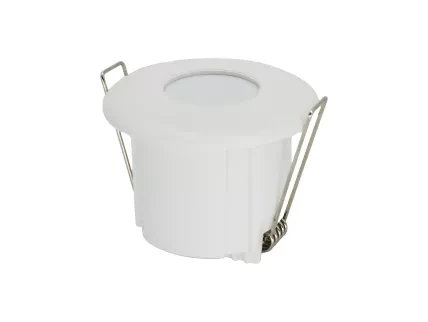
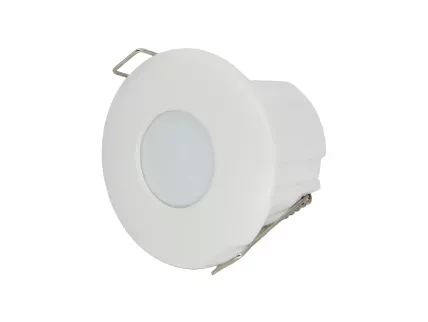
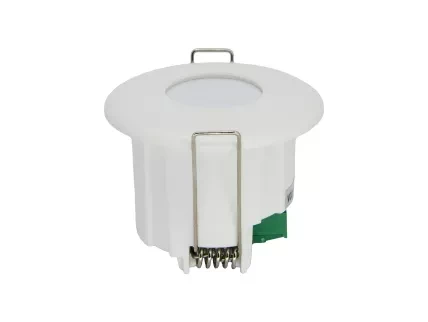
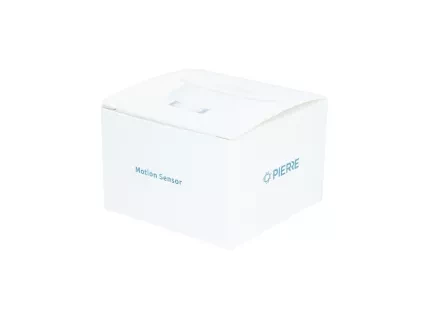
The PIERRE Pro Motion Sensor 360 (Flush Mount) utilizes passive infrared (PIR) detection, offering a full 360-degree coverage for comprehensive monitoring. It is equipped with a dry contact output for NO/NC configurations, allowing integration with various control systems.
The sensor is optimized for ceiling installations with an adjustable height range of 2-6m, recommended at 3m for optimal performance. Operating on a 9-24V DC power supply, it supports detection distances between 3-6m, making it ideal for smart home and hotel security applications. Adjustable LED indications allow for status monitoring and installation verification
Print user manual for Motion Sensor 360 (Flush Mount)
- H: 39 mm
- W1: 52 mm
- W2: 40 mm
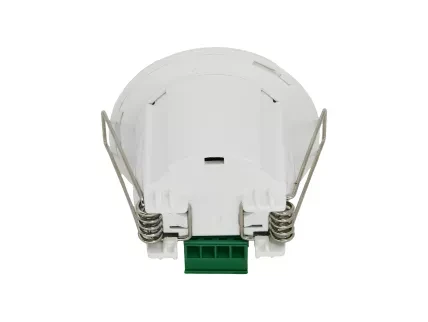
There is a jumper position behind the open terminal, direct jumper to select normally open or normally closed.
- Default Normal Open
Normal Open: When sensing someone the relay engages (outputs a signal): Relay disconnected when unmanned (no signal output)
Normal Close: When there is no one present, the relay is engaged (output signal): Relay disconnected when sensing someone (no signal output)
Power supply mode
DC 5-24V
Output
Dry contact, NO/NC
Max Load
36 V, 50mA
Frequency
5.8GHz ±75 MHz, ISM band
Product color
White
Installation Height
3.00m
Operation range
8m
LED Indicators
Yes
Operating Temperature °C
-10°C - +55°C
Operating Temperature °F
+14°F - +131°F
Operating Humidity % RH
5% - 95% RH
Detection radius
5m
Detection angle
360°
Detection Technology
PIR
Adjustable Features
Detection area and sensitivity
IP rating
IP20
Safety features
Over Voltage, Short Circuit, Thermal Protection, Anti-Flammable Housing, Static Protection, Surge Protection
- 100°
- 360°
- 3-6 m
- Choose an appropriate height - 3 meters recommended
- Ceiling
- Put the motion sensor in the hole
- Opening hole with a diameter of 41-45 mm on the ceiling
- Connect the Line (L) wire to terminal L on the sensor.
- Connect the Neutral (N) wire directly to terminal N on the sensor.
- Connect the Load (device) wire to the sensor's output terminal.
- Choose Controller
- Tap on the Controller that you would like to add new I/O to.
- To edit the I/O, click on the Controller to which the I/O is added.
- Add button for Inputs
- Inputs tab is selected.
- List of Inputs is shown.
- In order to add new Input tap on the Add button.
- Choose type - Inputs
- Scroll to the I/O from the list that you would like to add and tap on it.
- New Motion sensor
- Fill following form:
- Name - Write the name of the Motion sensor.
- Role - Choose Role from the list.
- Group - Choose Group from the list. Group is a group of I/O and scenarios that seems most logical to you.
- Pin - Choose Pin from the list. Pin is physical place on the Controller where I/O is connected to it.
- Photo - Choose photo for the Motion sensor.
- Identifier - This field is the identifier of the I/O in the electrical project.
- Advanced - You can choose type of the signal that activates or triggers the Motion sensor: rising, falling, change, change inverted.
- Timeout - It the duration for which the Motion sensor will remain active in auto mode.
- Fill following form:
When you want to confirm your choice tap button Save and Submit.
- Select Roles - Inputs
- Tap in the field Roles.
- Select checkbox/checkboxes (for multiple choice) next to the Role/Roles that you would like to choose.
- To confirm selection tap the button Save/Done.
- Select Groups - Inputs
- In this step you should select Group.
- Select check box/check boxes next to the desired Group/Groups from the list.
- When you want to confirm your choice tap button Done/Save.
- Change photo
- Tap on the photo of the Motion sensor.
- You have tree options:
- Open Library - The phone’s Library will open.
- Open Camera - You can take a picture using your smartphone.
- Choose default image - These images are prepared in advance in order to provide a complete and seamless experience.
- Timeout
- In order to set Timeout - hours, minutes and seconds, you should scroll through each of these columns and when you are satisfied with your choice tap on Save button.
- Advanced Configuration
- Select radio button next to the Signal that you would like to choose:
- Rising
- Failing
- Change
- Change inverted
- It is a type of signal that activates or triggers the Motion sensor.
- Select radio button next to the Signal that you would like to choose:
