On this page
Product specifications
Measurements
Measurements (box)
Specifications
Operating with a 12V DC input and consuming only 1.5W of power, the PIERRE Controller LITE ensures energy efficiency without compromising reliability. It supports two output voltages: 12V DC and 5V DC, each capable of handling a maximum load of 1A, with a total capacity of 2A.
The controller performs reliably across a wide range of temperature and humidity conditions and can function effectively at higher altitudes. Built-in reverse polarity protection and overvoltage protection enhance the unit's safety and durability, making it a dependable solution for long-term management of smart home components. The basic UTP cable connection ensures stable communication between the controllers and system elements.
Print user manual for PIERRE LITE Controller

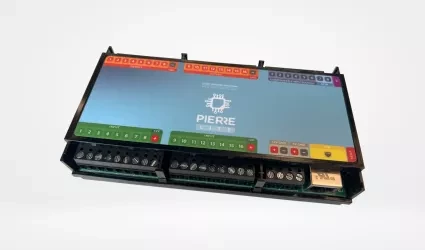
Description of the PINs on the Controller:
- INPUT from 1 to 16 ports - INPUT for sensor wires and buttons
- Power supply for the sensor
- PLUS - MINUS connection to a voltage of 12 V
- PLUS - MINUS connection to a voltage of 5 V
- ETH: Connecting to the network
- Reset button
- OUTPUT - from 1 to 16 ports: OUTPUT to wire the corresponding actuator device that will activate when it receives input from the sensors, buttons, smartphone, display or automation.
- GRD - Ground wire (-)
- A combination of digital inputs or outputs
- Digital input - 2 ports used only for RFID communication
- AP - access point - It is a working mode used for the initial setup of the controller and for modifying configuration settings later while the controller is in operation.
- LED - indicator of network connection-It provides essential information about the controller’s current status, making it easy to monitor its connection, operation mode, and maintenance activities.
GOOD TO KNOW: If one Input has influence on the Output they both should be added to the same Controller. For example in situation when RFID reader opens the door, they should be add to the same Controller for best performances.
The colors that shows different statuses of the Controller:
- Green – Online:
- The controller is online and connected to the network, functioning as expected.
- Red – Offline:
- The controller is offline, indicating a disconnection from the network or that there is no internet access.
- Light Blue – AP Mode:
- The controller is in Access Point (AP) Mode, meaning it is broadcasting its own network, allowing devices to connect directly to the controller for setup or configuration.
- Dark Blue – AP Mode with PIERRE Partner:
- The controller is in AP Mode, and it is actively being managed through the Pierre Partner system. This mode is used for more advanced setup or partner-level configuration.
- Purple – Searching for IP Address:
- The controller is attempting to obtain an IP address from the router or network. It is searching for an internet connection.
- Orange – Firmware Update:
- The controller is in the process of downloading a firmware update, ensuring that the system stays up-to-date with the latest software and features.
Power supply mode
DC 12V 1A
Input Voltage
12V DC
Input
16
Output
16
Consumption
1.50W
Maximum Load Per Output
1A
Output Voltage Peripherals
12V DC, 5V DC
Max Load
2A
Over Voltage Range
12V DC - 15V DC
Current
0.15A
Connectivity
10M/100M Ethernet RJ45, 2.4 GHz Wi-Fi (802.11 b/g/n)
Panel material
ABS+PC material
Product color
Black
Mounting
DIN Rail
LED Indicators
Yes
Operating Temperature °C
0°C - +55°C
Operating Temperature °F
+32°F - +131°F
Operating Humidity % RH
5% - 90% RH Non condensing
Altitude
<3000m
Safety features
Over Voltage, Reverse polarity
Power
12V
Number of inputs and outputs
16+16
Number of digital inputs/outputs
8

Wiring the Controller to a Big Power Supply
- Connect L and N terminals of the power supply to the AC mains (Live and Neutral).
- The DC output provides +5V and GND, which power the connected device.
- A rechargeable VRLA battery is connected in parallel with the DC output, with its + terminal to +5V, and – terminal to GND.
- This allows the battery to charge while mains power is available, and supply backup power during outages.

Wiring the Controller to a smaller Power Supply
- Connect the AC input terminals to mains power: L (Live) and N (Neutral).
- The power supply converts AC to 5V DC, with outputs labeled +5V and GND.
- Connect +5V to the device’s VCC input, and GND to its GND input.
- Use proper gauge wires and double-check polarity to avoid damaging connected devices.
Commissioning mode is indicated by WHITE LED light on the controller.
- Powering On a New Controller
- Automatic Commissioning Mode: When you power on a new controller, it automatically enters commissioning mode.
- Commissioning Mode for Existing Controllers
- Entering Commissioning Mode: For an existing controller, enter commissioning mode by holding the "AP" button on the controller until the device enters setup mode.
- Scanning for Controllers
- PIERRE Partner App: In the Controllers screen of the PIERRE Partner application, the system automatically scans for controllers in commissioning mode.
- If the scanned controller is not present in the current building (meaning it has not been previously created), it will appear as "New Controller - $controllerChipID" with a blue Bluetooth icon. When you click on the new controller, a modal will appear with three options:
- New Controller
- Copy Existing Controller
- Restore Controller
- If an already configured controller in commissioning mode is detected in the building, it will display with a blue Bluetooth icon. When you click on the controller, a modal will appear with three options:
- Edit Controller Settings
- Edit Network Settings
- Restore Controller.
- If the scanned controller is not present in the current building (meaning it has not been previously created), it will appear as "New Controller - $controllerChipID" with a blue Bluetooth icon. When you click on the new controller, a modal will appear with three options:
- PIERRE Partner App: In the Controllers screen of the PIERRE Partner application, the system automatically scans for controllers in commissioning mode.
New Controller
- Selection: When you select New Controller, a new modal appears with the following configuration fields:
- Name: Enter a name for the controller.
- Connection Type: Choose between Ethernet or Wi-Fi.
- If Wi-Fi is selected, the Wi-Fi picker will display all available networks. If a password-protected Wi-Fi is selected, a password field will appear.
- IP Settings:
- Choose between Automatic (DHCP) or Static IP.
- If Static IP is selected, the following fields will be available for configuration:
- IP Address
- Gateway
- Subnet
- DNS
- Save: After filling out all required details, click Save. This will create the controller and stop the commissioning process on the device.
- Selection: When you select New Controller, a new modal appears with the following configuration fields:
Copy Existing Controller
- Selection: Selecting Copy Existing Controller opens a modal displaying all available controllers across all buildings.
- Select Controller: Choose an existing controller to copy its settings. When you select a controller, a new modal appears with the following configuration fields:
- Name: Enter a name for the controller.
- Roles: Select the role for the new controller.
- Connection Type: Choose between Ethernet or Wi-Fi.
- If Wi-Fi is selected, the Wi-Fi picker will display all available networks. If a password-protected Wi-Fi is selected, a password field will appear.
- IP Settings:
- Choose between Automatic (DHCP) or Static IP.
- If Static IP is selected, the following fields will be available for configuration:
- IP Address
- Gateway
- Subnet
- DNS
- Setup Copy: The new controller will inherit all settings from the selected controller, including:
- I/O Settings
- Automations: For example, if the copied controller has a door sensor linked to a light (automation: when the door opens, the light turns on), these settings will be replicated on the new controller.
Restore Controller
- Selection: Selecting Restore Controller opens a modal displaying all controllers across all buildings.
- Choose Controller: Select the controller to restore. When you select a controller, a new modal appears with the following configuration fields:
- Connection Type: Choose between Ethernet or Wi-Fi.
- If Wi-Fi is selected, the Wi-Fi picker will display all available networks. If a password-protected Wi-Fi is selected, a password field will appear.
- IP Settings:
- Choose between Automatic (DHCP) or Static IP.
- If Static IP is selected, the following fields will be available for configuration:
- IP Address
- Gateway
- Subnet
- DNS
- Connection Type: Choose between Ethernet or Wi-Fi.
- Controller Replacement: This option replaces the chipID of the selected controller with the new one. The controller will adopt the same setup as the original controller.
- Example: If a controller is damaged (e.g., by flood), a new controller can be restored to act as the previous one without reconfiguration.
- Edit Controller Settings
- Functionality: This option allows you to edit the controller’s settings. It is the same as the modal opened while holding the controller component, with the additional option to delete the controller which is available only while controller is in commissioning mode.
- Edit Network Settings
- Network Type: You can switch between Ethernet and Wi-Fi.
- Wi-Fi Network: You can change the Wi-Fi network and re-enter any required credentials.
- IP Settings: Modify the IP Address, Gateway, Subnet, and DNS as needed.
- Restore Controller
- Restore Configuration: This option will resend the configuration to the commissioning controller. It is useful if configuration fails or if commissioning a new controller fails for some reason.
- No Controller Selection: Unlike Restore Controller for a new controller, here you do not need to select another controller. The system will resend the configuration to the currently commissioning controller.
-

Compatible Light Devices
-

Light control
-

Dimmable light control with PIERRE Controller
-

Garage Door Control
-
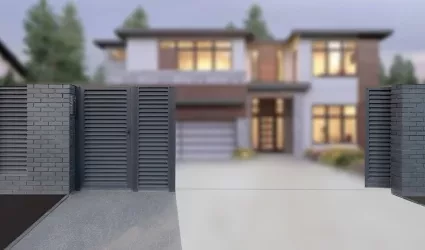
Gates Control
-

Switch - Control Gates Doors
-
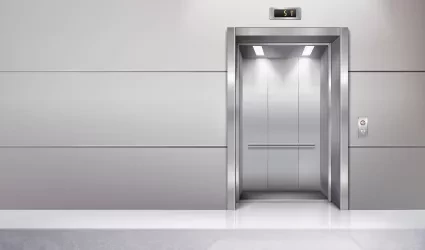
Elevator Door Control
-

Blinds Control
-

PIERRE Blind Motors
-

Curtains Control
-

Dry Contact Switch
-

On/Off HVAC - Passive Heating Cooling (heating pumps)
-

HVAC with blower speed
-

MODBUS Thermostat
-
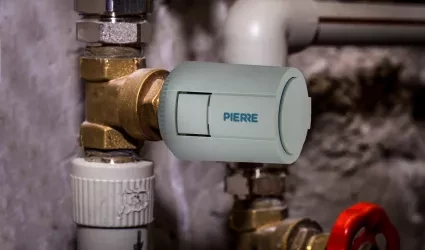
Magnetic/Motorized Valves
-

MODBUS, 0-10V
-

PIERRE RFID Hospitality Reader
-

Compatibile RFID Reades
-

Compatibile Humidity Sensors
-

PIERRE Temperature Sensor
-
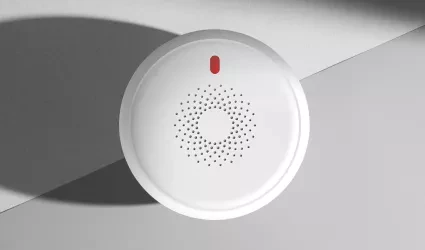
PIERRE Smoke Sensor
-
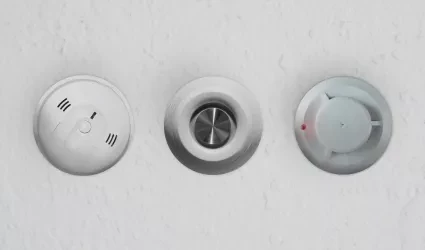
Compatibile Smoke Sensors
-

PIERRE Motion Sensor
-

Compatibile Motion Sensor
-
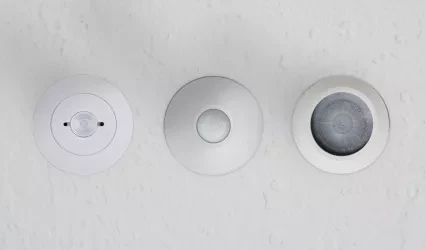
PIERRE Presence Sensor
-
PIERRE Brightness Sensor
-

Compatibile Brightness Sensor
-

PIERRE Leak Sensors
-

Compatibile Leak Sensor
-

PIERRE Contact Sensor
-

Compatible Contact Sensor
-

PIERRE CO2/Gas Sensor
-

Compatible CO2/Gas Sensor
-

Compatible rain sensor
-

Irrigation Valve
-

Compatible Rain Sensor
-

Fan/Motor
-

Valve
-

Socket
-

PIERRE Relay Board 4
-

PIERRE Relay Board 8
-

Compatibile Relay
-
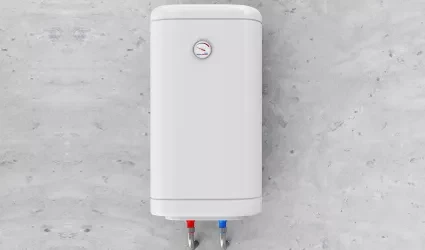
Water Heater
-

Sirens
-

PIERRE Power Supplies
-

Compatible Power Supplies
-

Sauna
-

Pool
-

Hot Tub with Massage Jets
-

Fan Coil
-

Gas Boiler
-

Compatible Soil Moisture Sensor
-
")
Pro System (Wired Installation)
-
")
Hybrid System (Wired + Wireless Installation)
-

Contactor
-

Pergola Control
-

Alarm Systems
-

PIERRE RFID Reader
-

Taster
-

Recuperator
-

Open/Close Door Locks
-
Secure Door Locks (motorized)
-

Pierre PRO
-

Regular Devices
-
Pierre LITE


")
")


